
How to Create a Webinar Room
Setting up a one-to-many broadcast: who can watch, public registration, speakers and viewers, and streaming.
A webinar is a room with Webinar Mode on: a few speakers on camera, and an audience that watches. On an Enterprise account a webinar holds up to 500 people, with up to 50 of them on camera.
This guide covers what is different about a webinar. The parts of the form a webinar shares with a meeting (templates, the schedule, the room features, sending invitations) are covered in How to Create a Meeting Room.
1. Turn On Webinar Mode
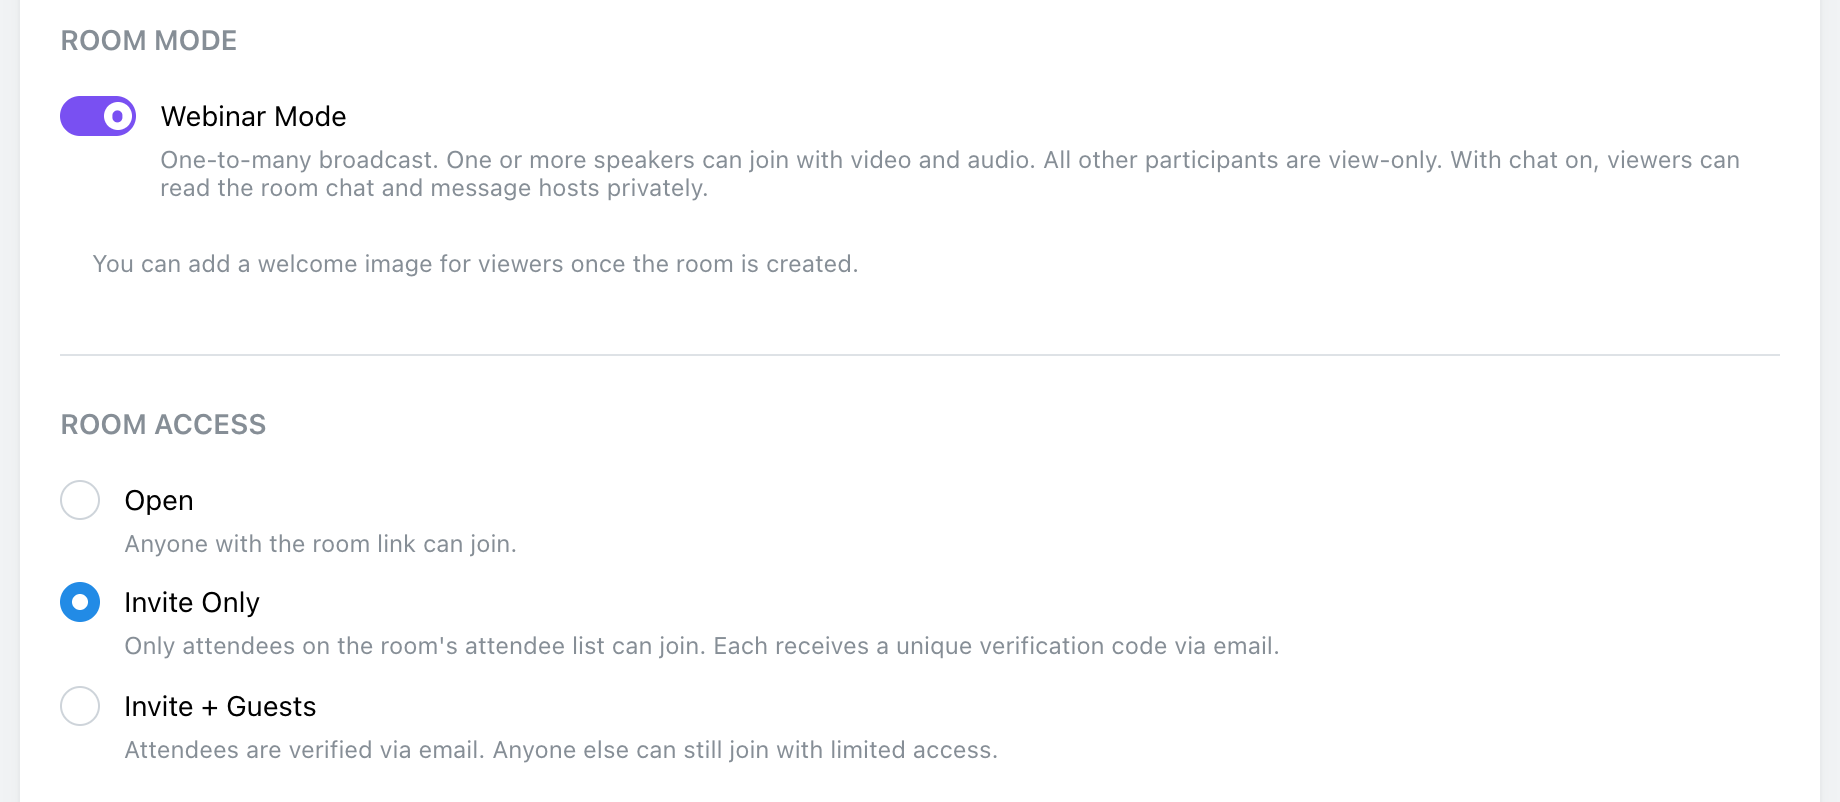
Start a room as you would a meeting: open the Rooms tab and click Create Room (or double-click a date on the calendar), then name and schedule it. Under Room Mode, turn on Webinar Mode.
Speakers join with video and audio, and everyone else is view-only. With chat on, viewers can read the room chat and message the hosts privately. Turning Webinar Mode on also moves an Open room to Invite Only, since most webinars start from a list of invited or registered people. You can change that in the next step.
The welcome image viewers see before the broadcast starts is added once the room exists (step 7). Going live, and everything else on the day, is covered in How to Run a Webinar.
2. Choose Who Can Watch
Room Access works a little differently in a webinar, because anyone who is not on the attendee list always joins as a viewer:
- Open: anyone with the room link joins and watches.
- Invite Only: only people on the attendee list can join, including everyone who registers. Each one confirms who they are with a code sent to their email address.
- Invite + Guests: people on the list join in the role you gave them, and anyone else with the link joins as a viewer.
There is no Guest Access Mode in a webinar, since guests can only ever watch. Registration is offered with Invite Only and Invite + Guests.
3. Set Up Registration
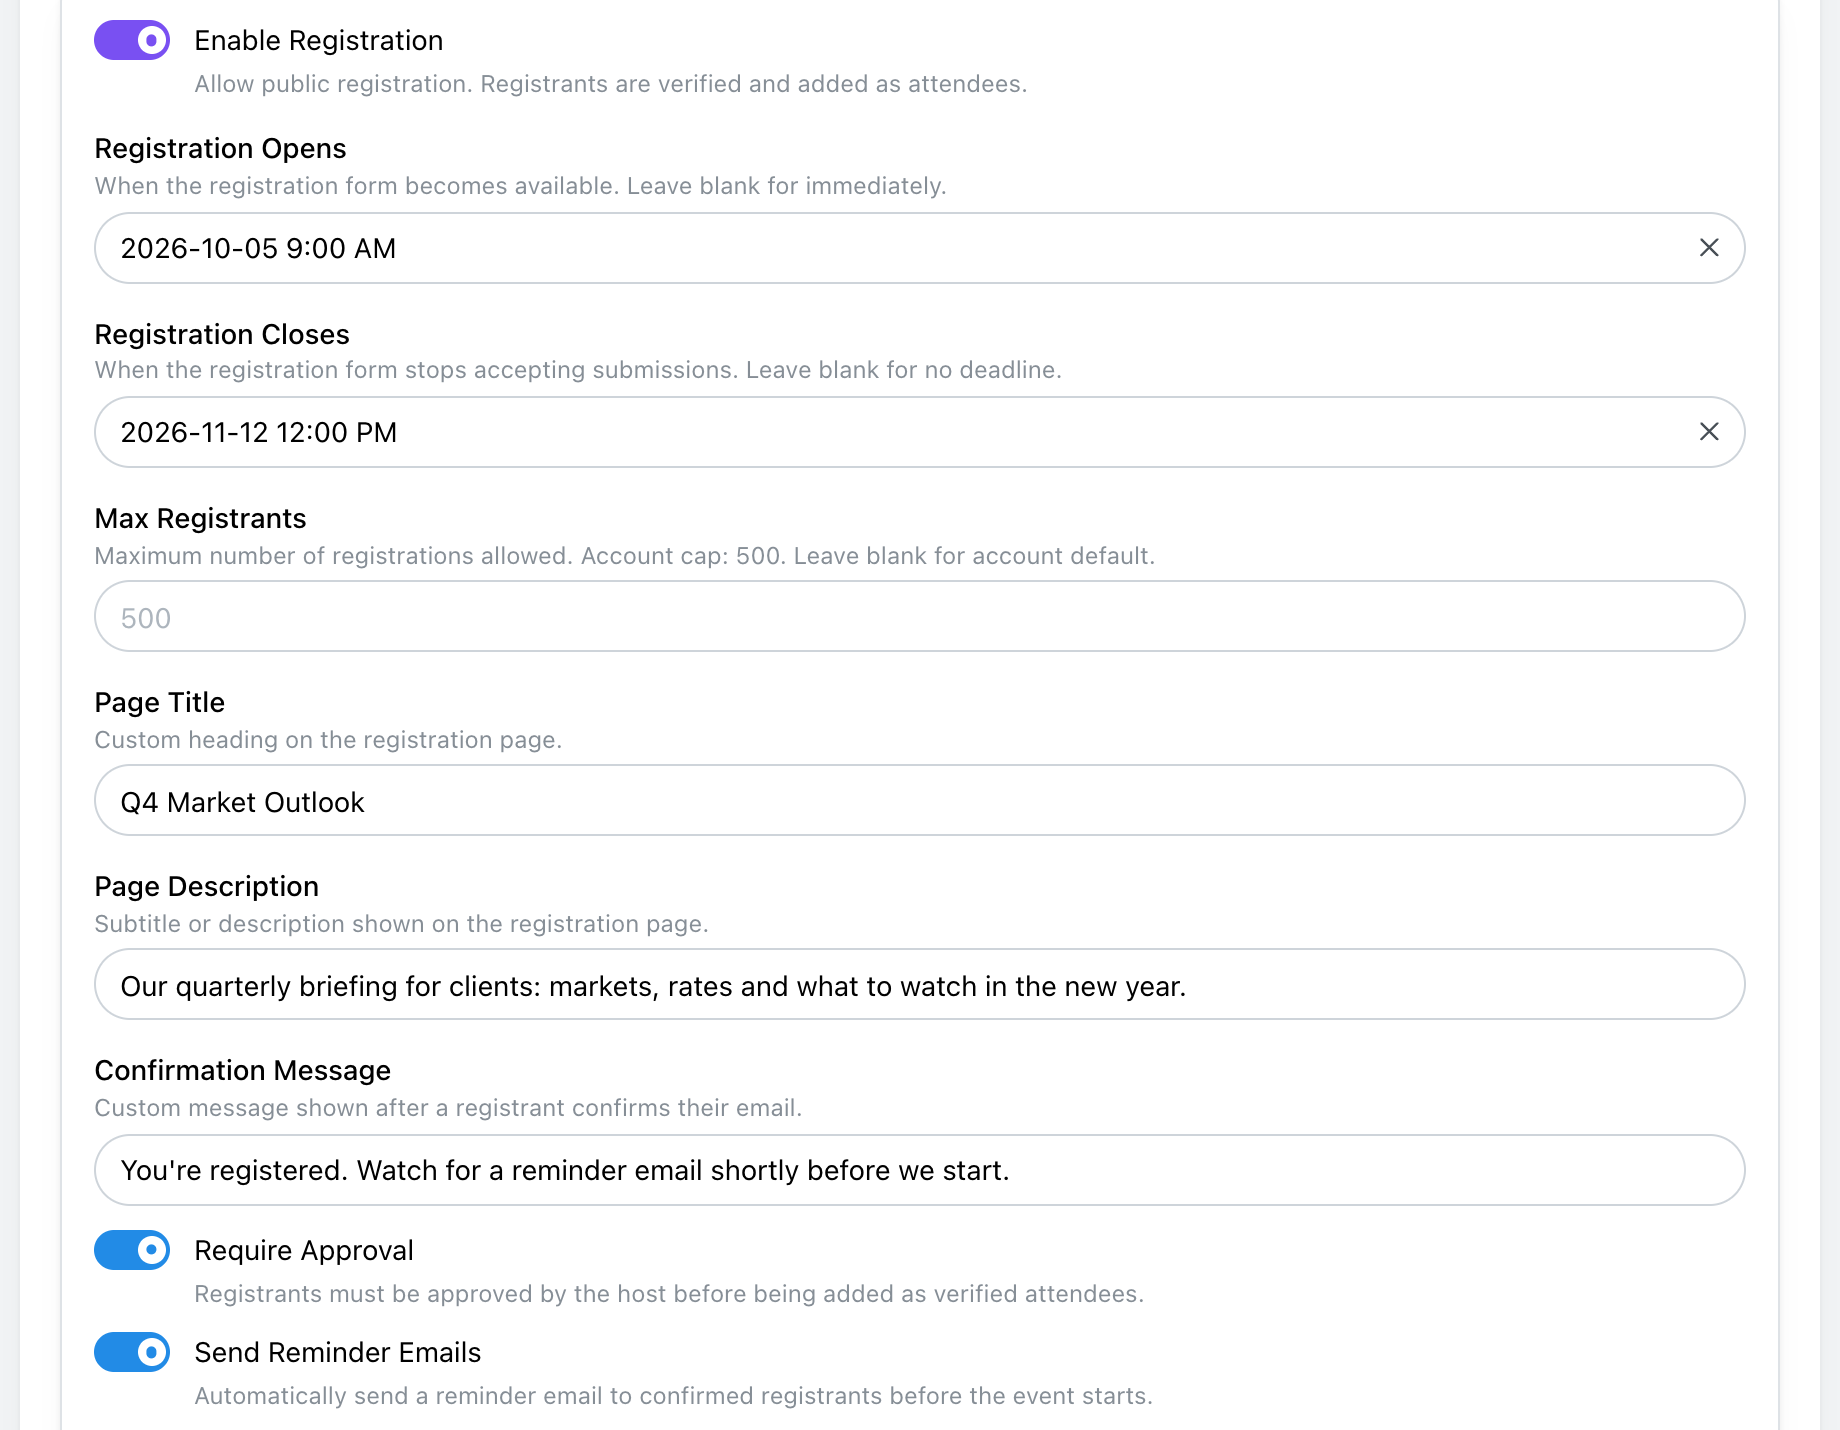
Turn on Enable Registration to give the webinar a public sign-up page. Then fill in:
- Registration Opens and Registration Closes: when the form accepts sign-ups. Leave them blank to open immediately and never close.
- Max Registrants: leave it blank to allow your plan's limit (500 on Enterprise).
- Page Title and Page Description: the heading and subtitle on the registration page.
- Confirmation Message: shown once a registrant confirms their email address.
- Require Approval: each registrant waits for you to approve them before they are added to the list.
- Send Reminder Emails: a reminder with the link to join goes to everyone registered shortly before the webinar starts.
Here is what happens when someone registers:
- They fill in the form on the registration page.
- They receive an email with a link to confirm their address.
- Confirming adds them to the attendee list as a viewer. With Require Approval on, it puts them in your approval queue instead (step 8).
- Shortly before the start, they receive the reminder with the link to join.
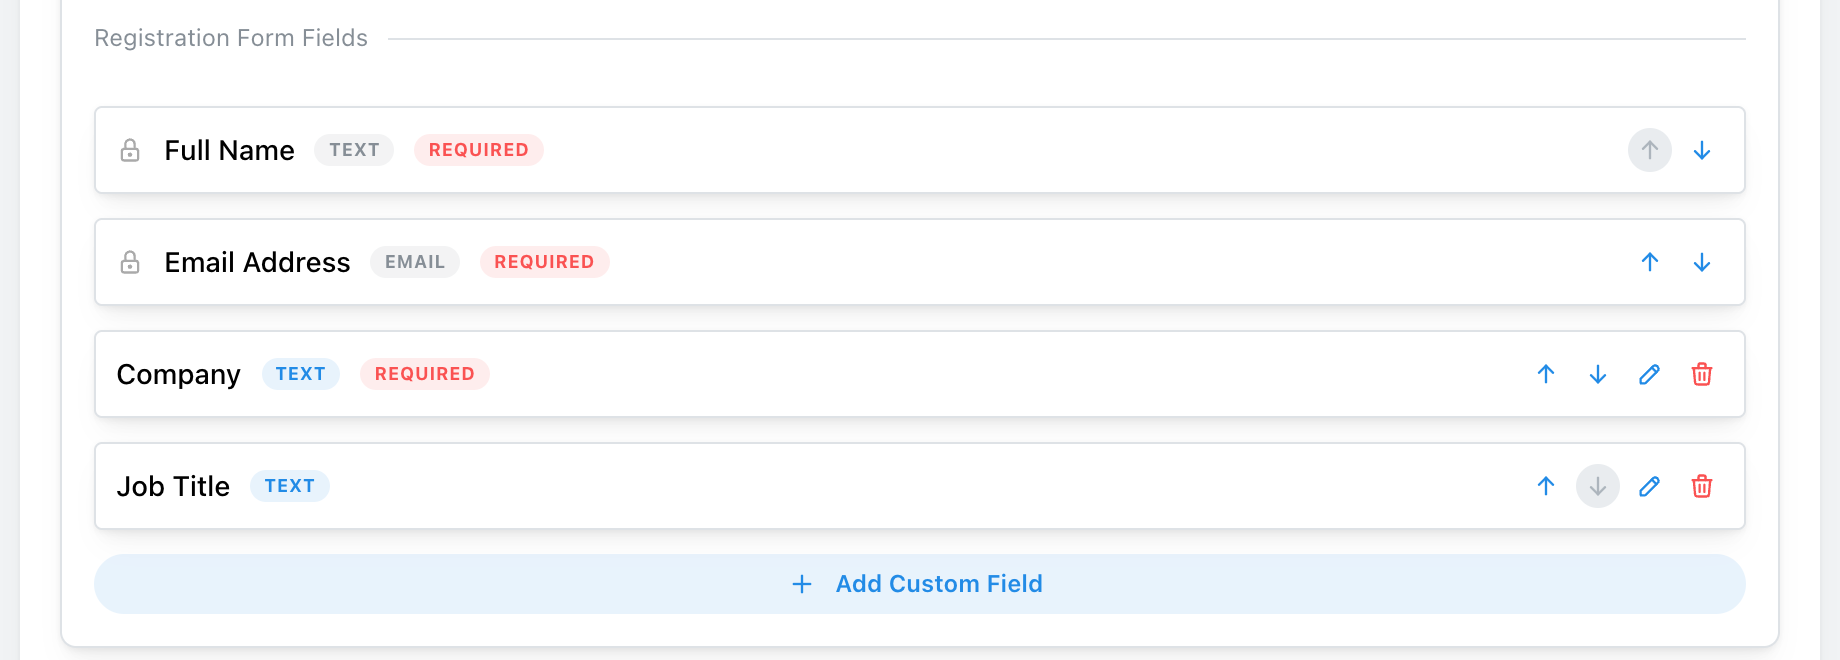
Under Registration Form Fields, Full Name and Email Address are always asked. Click Add Custom Field to ask for more: a Text, Text Area, Dropdown (with the options you list), or Checkbox field, each optional or required. Use the arrows to change the order.
4. Add Your Speakers
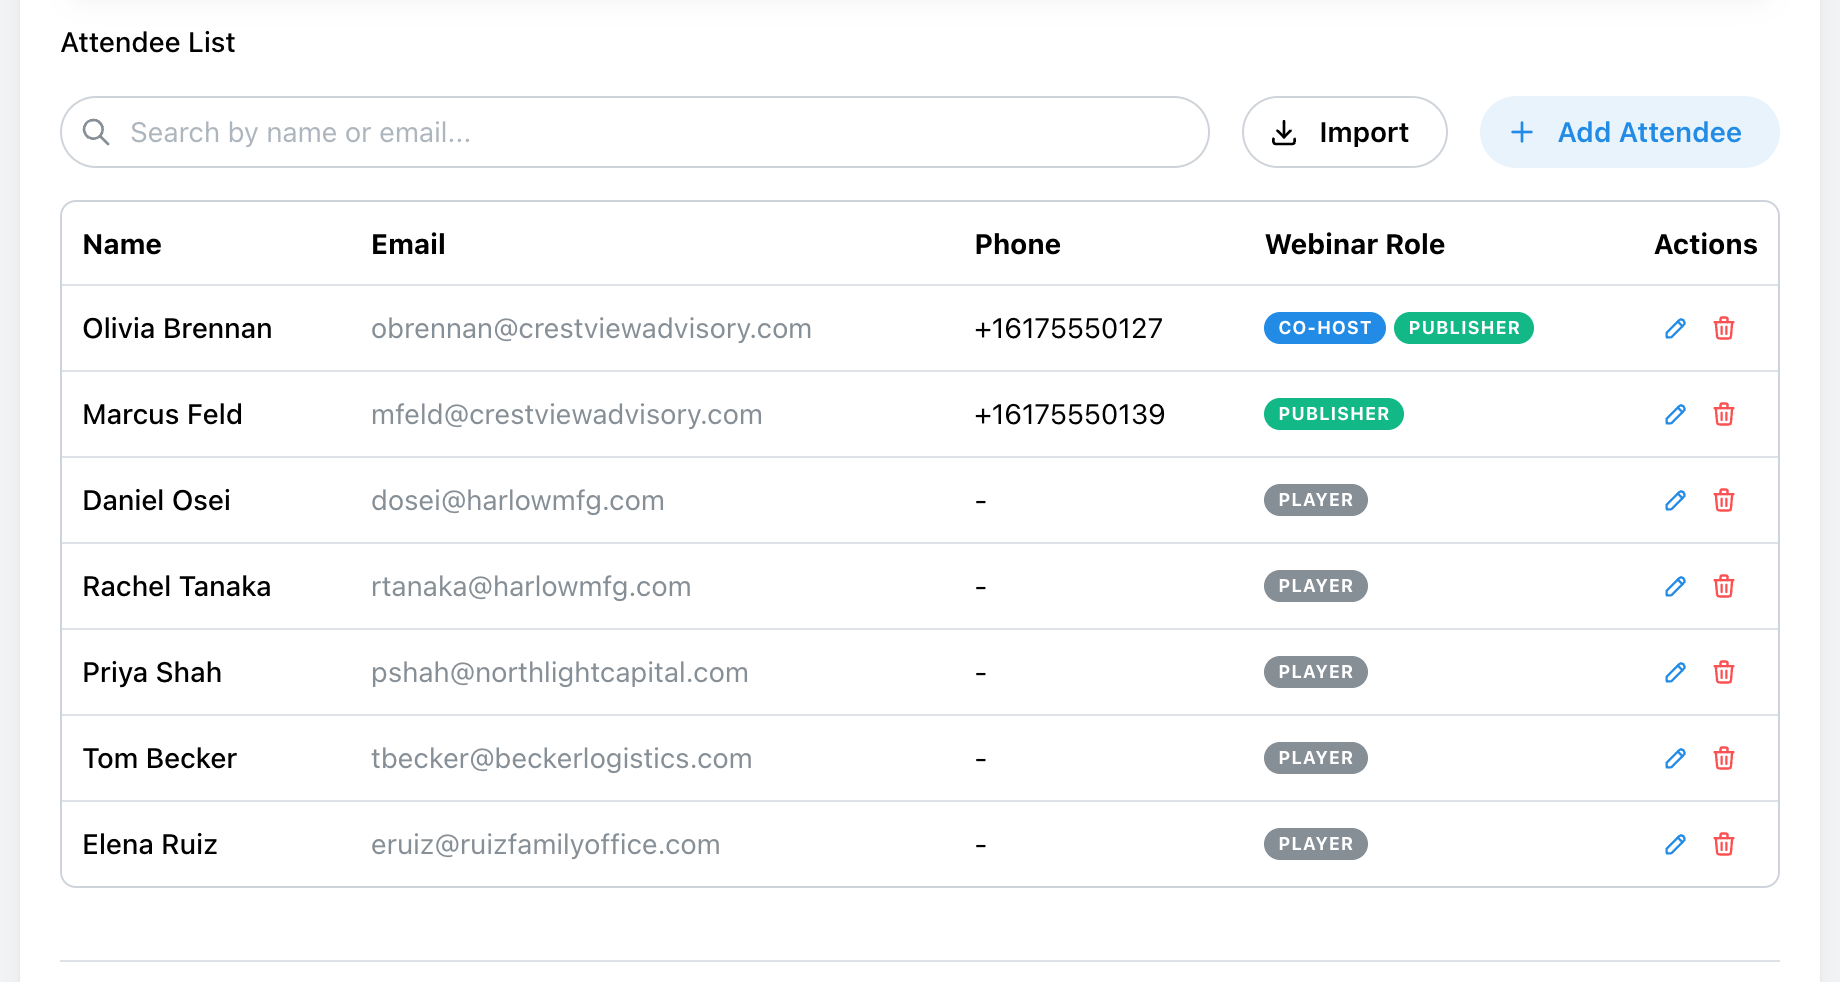
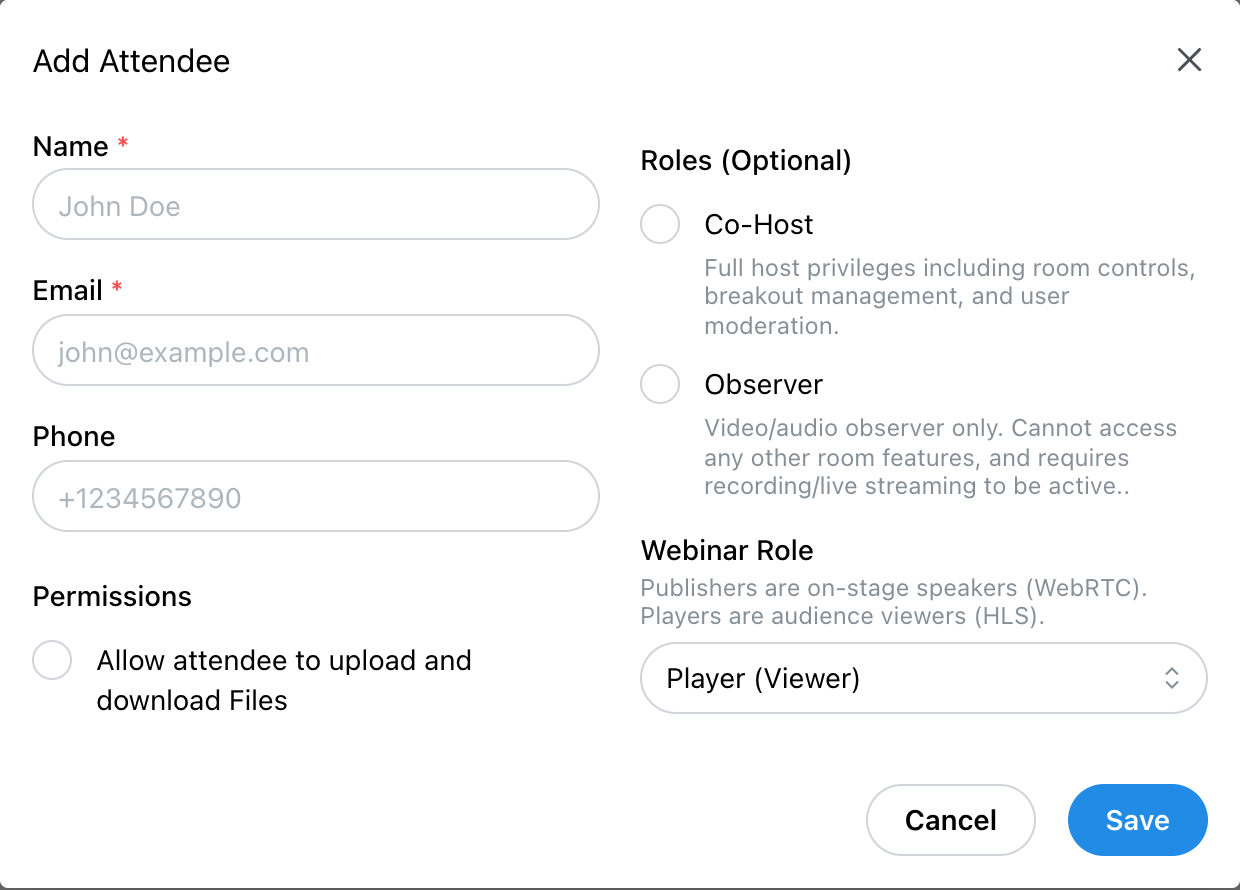
In a webinar the Attendee List has a Webinar Role for each person:
- Publisher (Speaker): on camera, speaking to the audience.
- Player (Viewer): watches the broadcast.
New attendees start as viewers, and viewers start without access to shared files. Co-hosts are always speakers. Everyone who registers is added for you, as a viewer.
5. Features, Recording and Streaming
Room Features work as they do in a meeting (see step 7 of the meeting guide). Chat and Files are the ones a webinar usually needs: chat for audience questions, and files for the speakers' slides and documents.
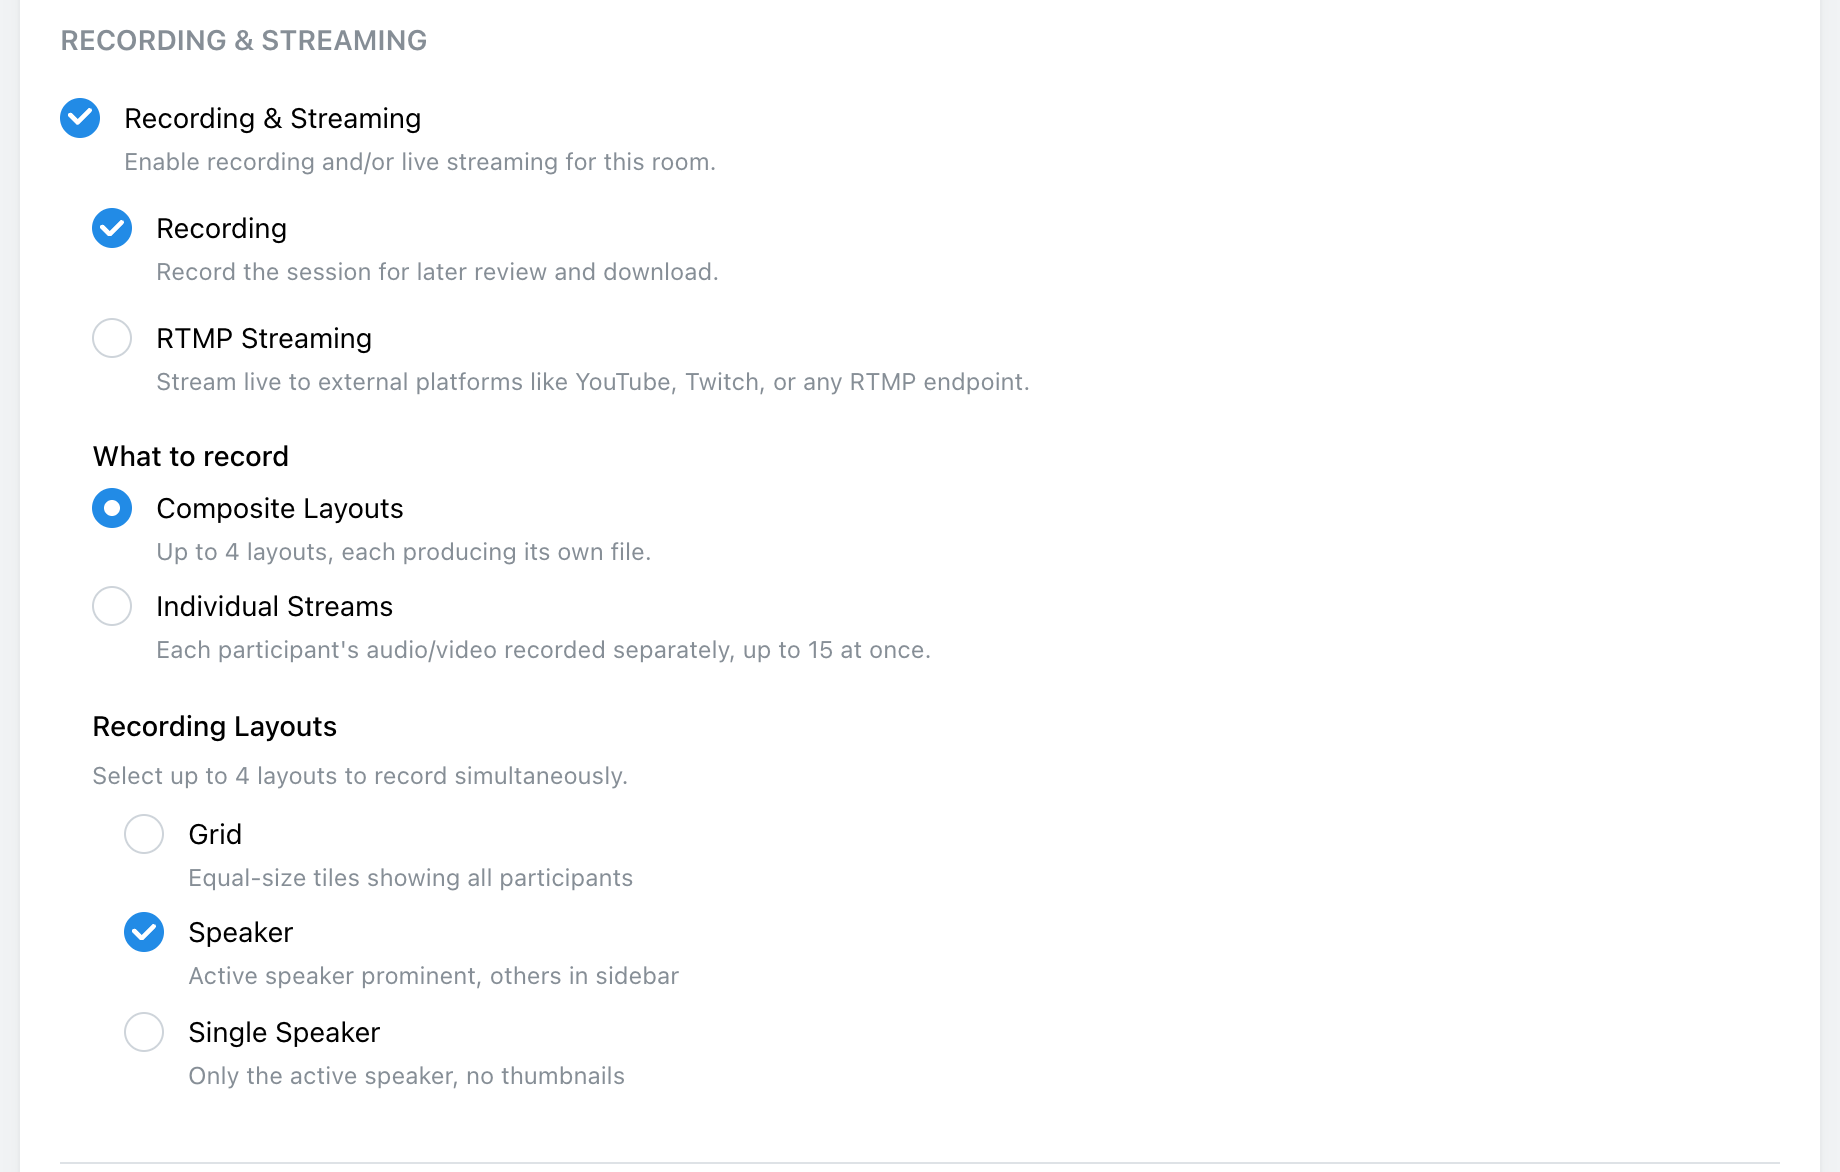
Under Recording & Streaming, choose the layouts. A webinar is recorded whenever it is live (see How to Run a Webinar), and these layouts are both what your audience watches and what is saved.
6. Session Settings, Then Create
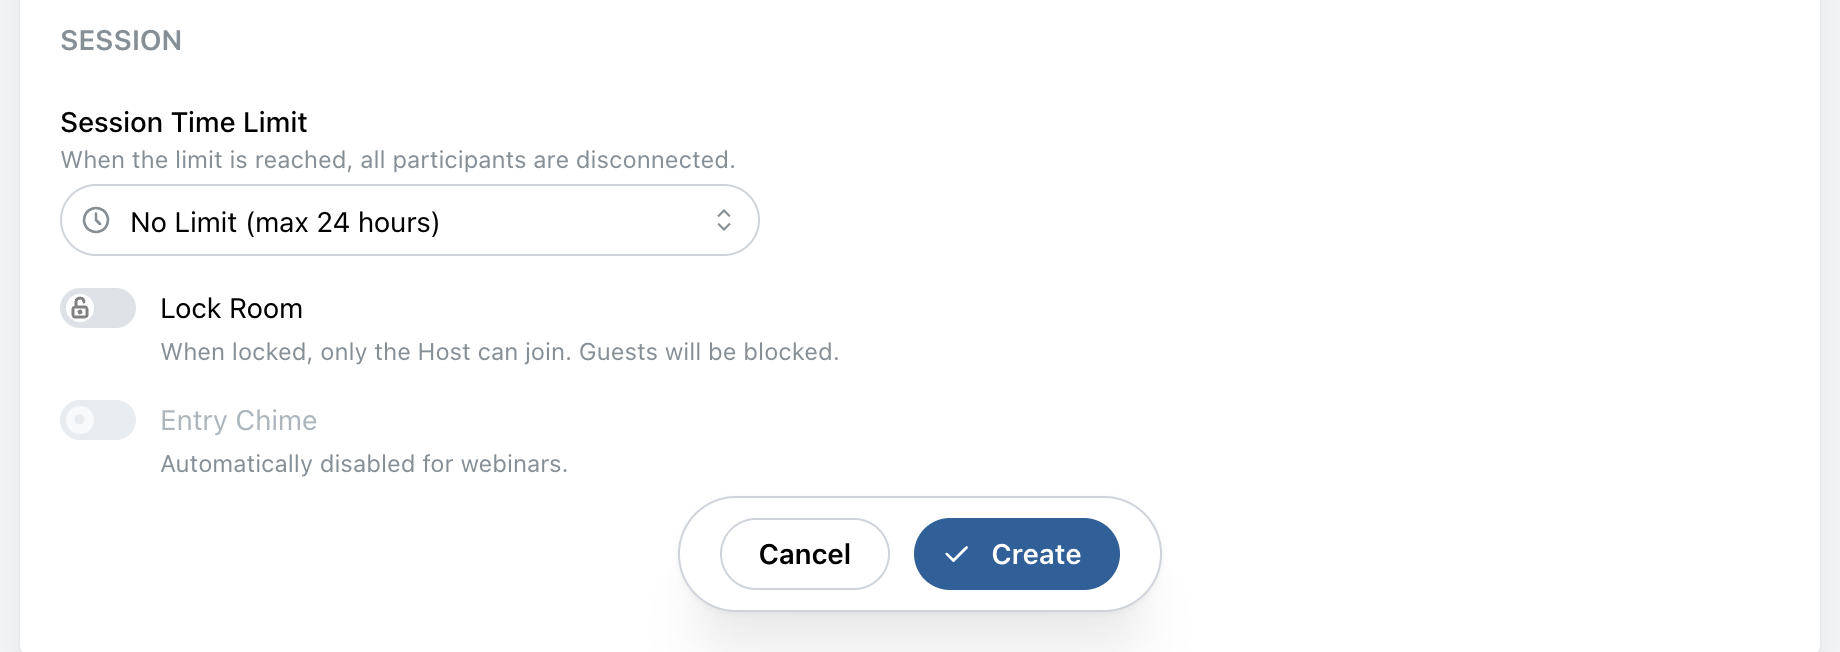
Session Time Limit and Lock Room work as they do in a meeting. Entry Chime is switched off for webinars, so arrivals never interrupt a speaker.
Click Create.
7. Add a Welcome Image
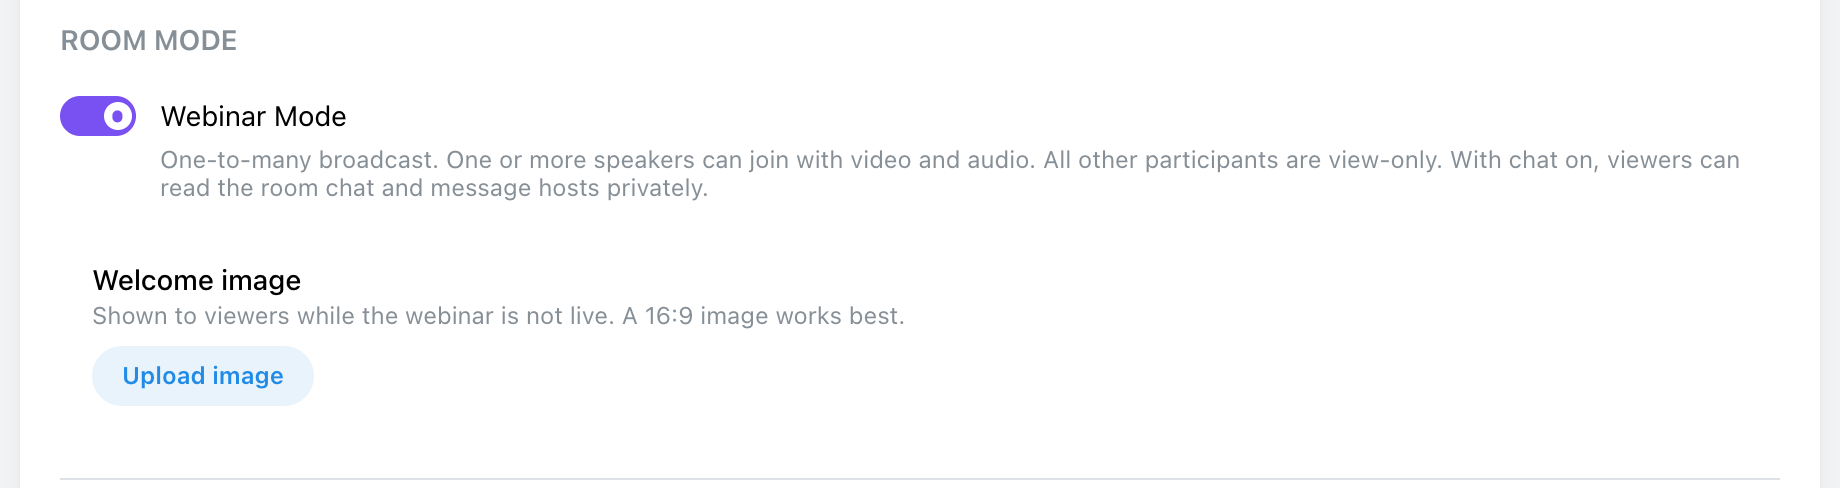
Select the room in the Rooms list and click Edit. Under Webinar Mode, click Upload image. Viewers see this image whenever the webinar is not live: before a host starts the broadcast, and after it ends. A 16:9 image works best, as a PNG, JPG, WebP, or GIF.
8. Share the Registration Link and Manage Registrations
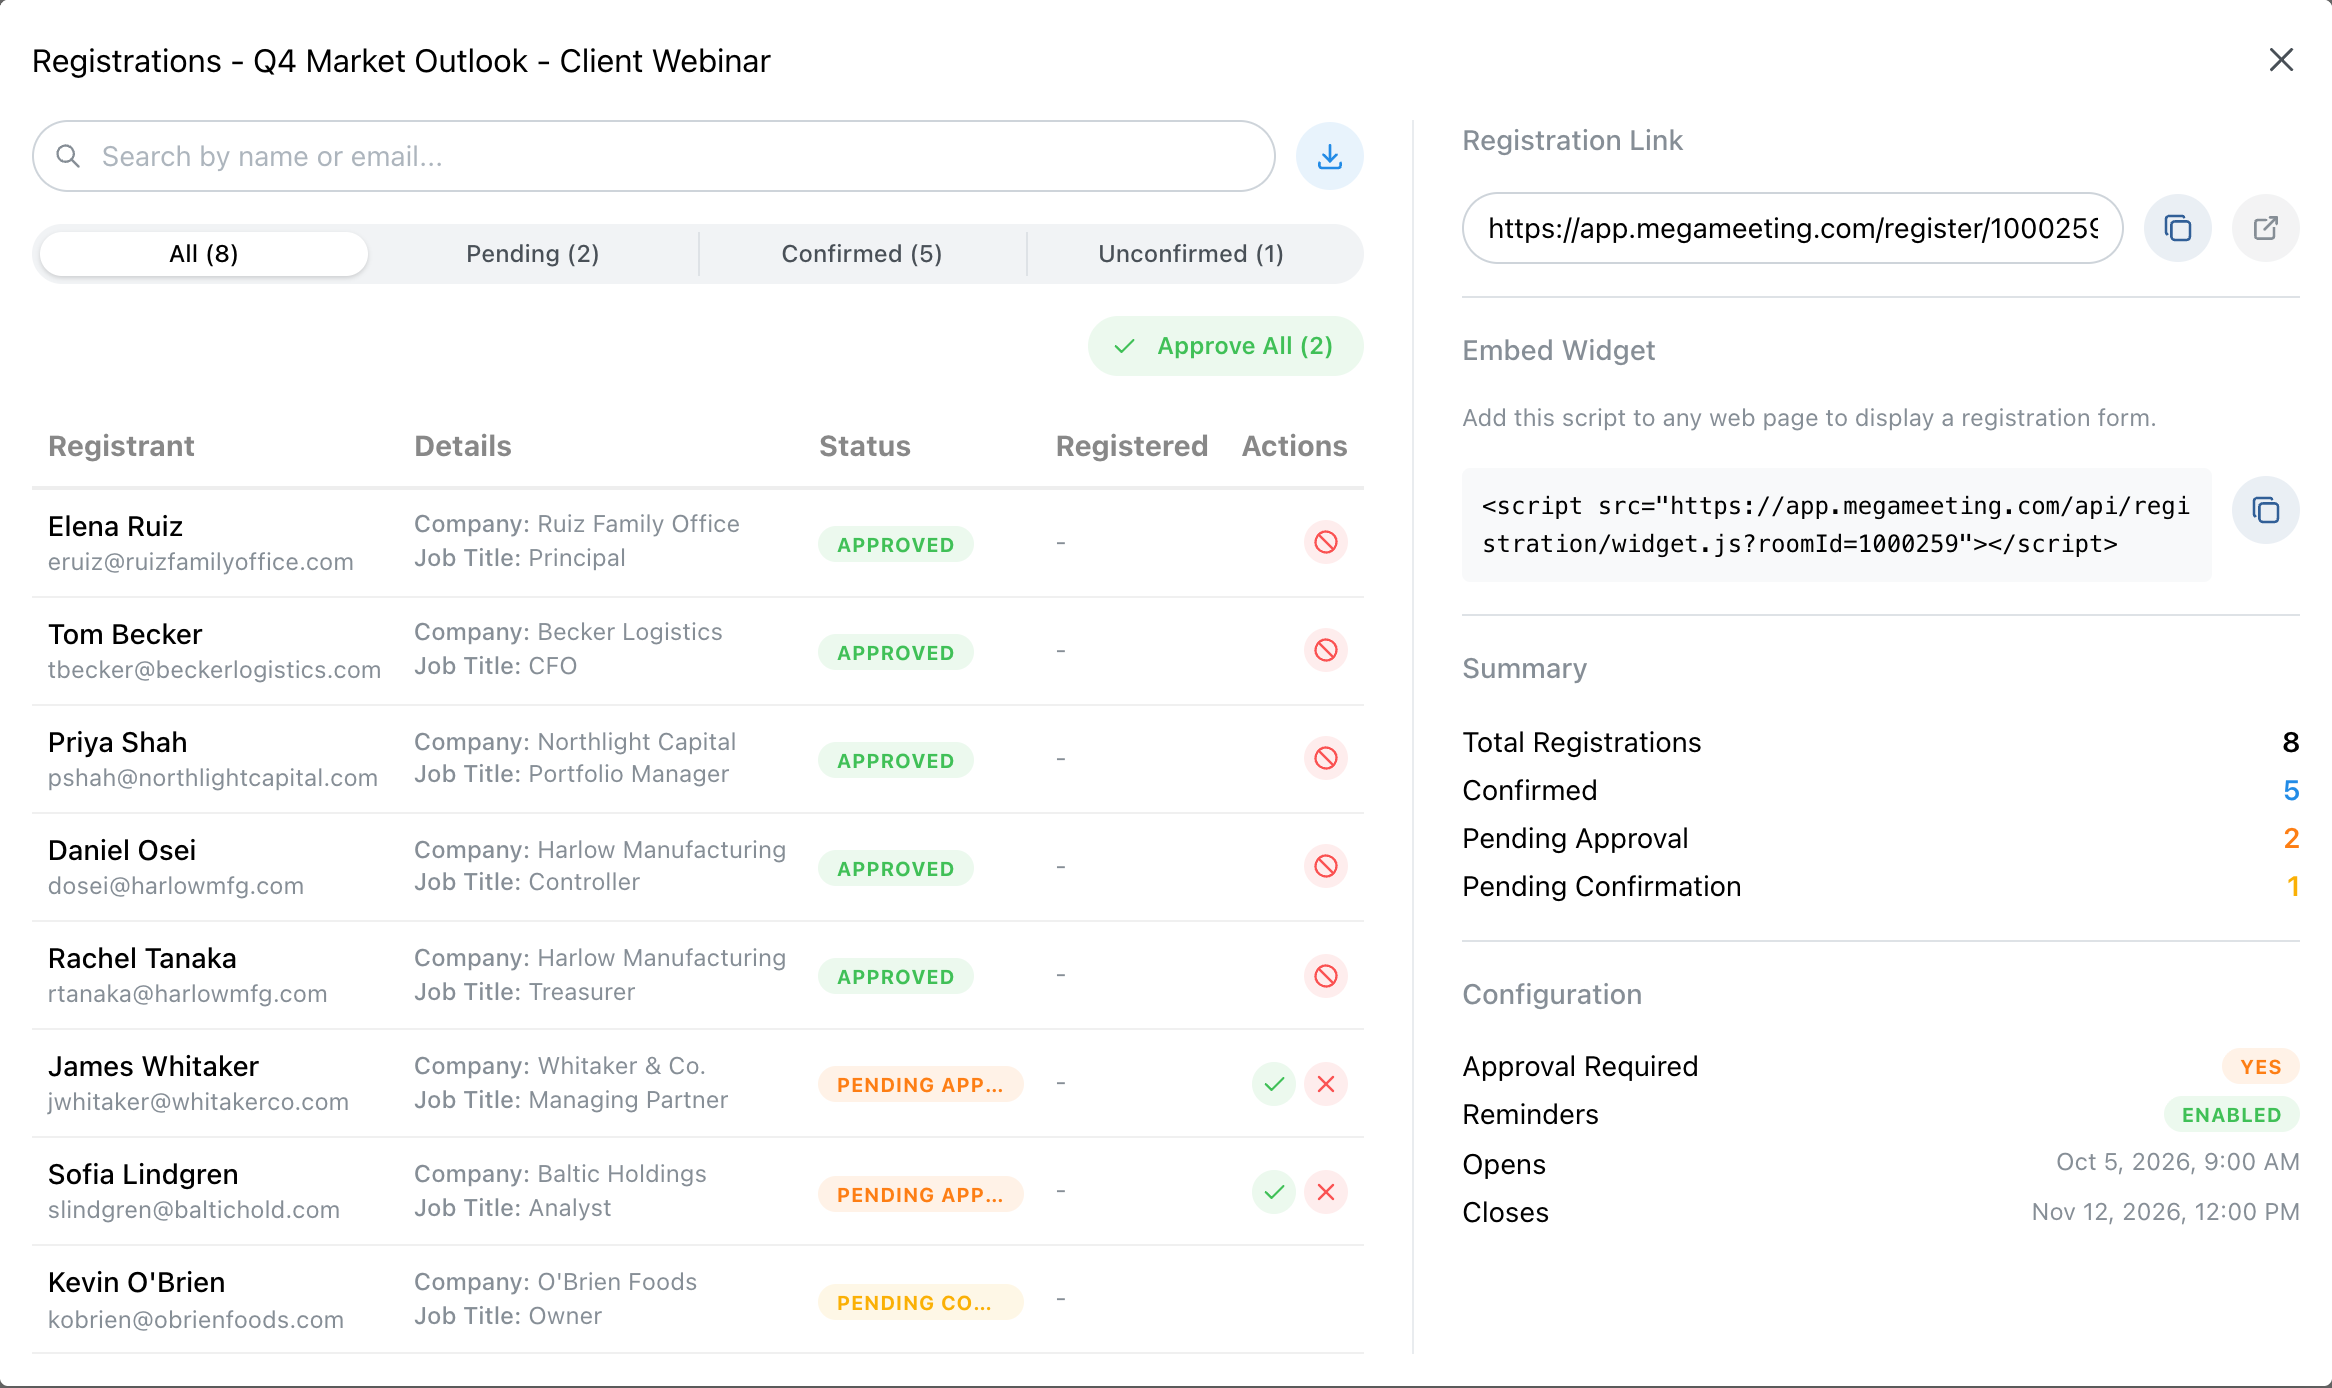
When registration is on, selecting the room in the Rooms list adds a Registration button to the action bar. It opens the Registrations window:
- Registration Link: the sign-up page to share in emails, posts and ads. Copy it, or open it to see what registrants see.
- Embed Widget: a line of code that puts the registration form on any page of your own website.
- The registrant list: search by name or email, filter by status, and download everything as a CSV file.
- Approving: with Require Approval on, approve or reject each person, or use Approve All. Anyone confirmed or approved can have their registration cancelled.
Unconfirmed means the person registered but has not yet clicked the link in their confirmation email. They are not on the attendee list until they do.
Speakers and anyone else you added yourself are invited with the Invite button, exactly as for a meeting.
Before the Webinar
- Is Webinar Mode on, and does Room Access match who should be able to watch?
- Is the room scheduled, so registrants get their reminder?
- Are registration's open and close times right?
- Is every speaker on the list as a Publisher, and have they been sent the invitation?
- With approval on, is anyone still waiting to be approved?
- Is the welcome image uploaded?
Explore MegaMeeting